MATERIALS:
PAPER:
- 300 grams Cold-pressed paper 46 × 61 cm – 18” x 24” approx.
COLOURS:
- Winsor Yellow, Winsor Red or Ultramarine Blue, raw Sienna or Hookers Green, Perylene Green, Cerulean Blue, Winsor Violet.
BRUSHES:
- No. 1, 2 6, round good pointed.
- Big Flat 55 mm to wet the paper and apply first washes.
- No. 12 synthetic hard flat brush to lift colour.
OTHER MATERIALS:
- Saral transfer paper and transparent paper.
- Masking fluid.
Let's get started
STEP 1:
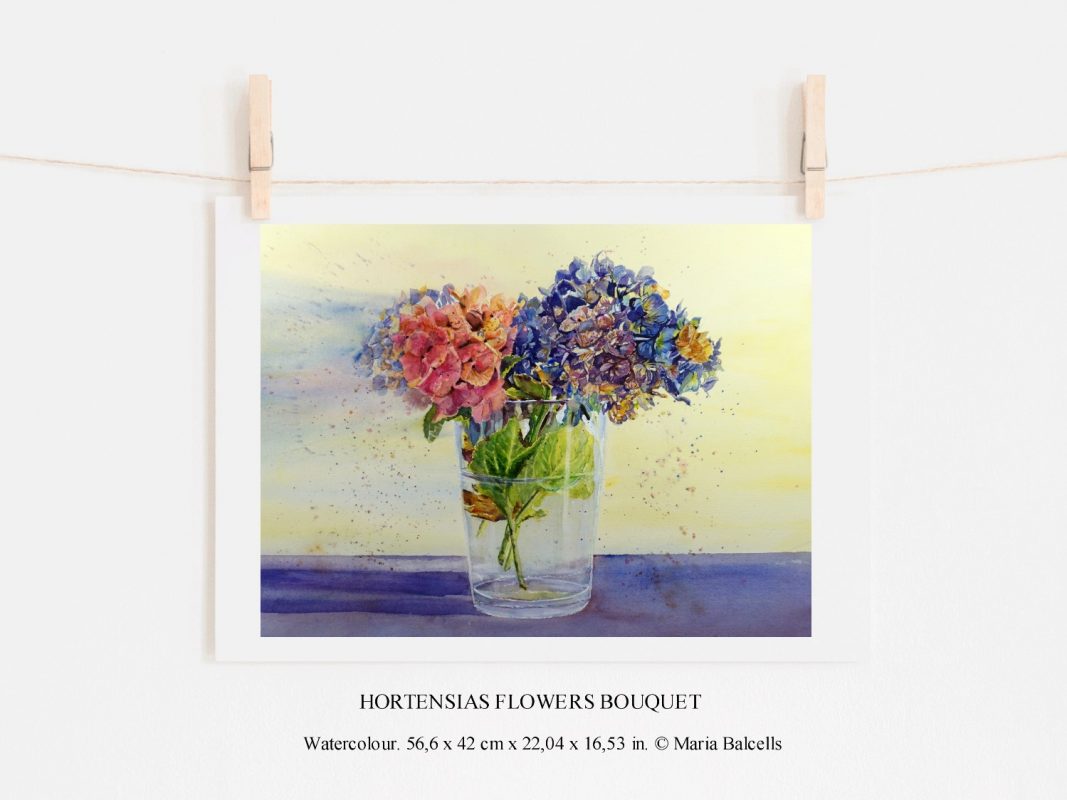
- Copy and transfer the drawing onto your watercolour paper. I did not draw the table cloth, if you like it you may copy it, if not just avoid drawing it. See finished picture.

STEP 2:
Protect the as in the photo below, the sides and some lines of the glass jar. Mask also some spaces between the petals of the flowers. Let all dry.

STEP 3:
This step is done all in one go without stop. We paint the entire background in one go, wet on wet. During this process, the colours get washed away so that you will need to repeat the process to add on colour there where you want or have it. Use a spray with clean water to remove colour if necessary.
If you do not feel sure about doing this, my tip is to do it by glazing. Paint the first wash and let it dry. If you feel the background hasn’t got any colour, wet the paper again and repeat this step.
The Yellow colour used is 50%/50% of Transparent Yellow and Yellow Ochre. The red, used was Winsor Red (Not Cadmium Red) if you do not have Winsor Red, use Permanent Alizarin Crimson. For the blue, I used a mixture of Ultramarine Blue + Cobalt Blue and a small touch of Cerulean Blue.
- Wet the entire paper and wait until dry if you haven’t done it before and let it dry.
- Turn the paper 90 degrees to the left side so that the shadow side of the flowers is under.
- Wet the paper and while nice wet and shiny apply with the big 100 mm brush first the yellow, avoiding the area on the base of the jar and the shadows’ area.
- Now while wet, fill one edge of the brush with a little Winsor Red and paint the area of the flowers with a circle, the colours will fall down with the water, don’t worry about this. Clean your brush and fill it with the blue colour and paint the base of the flower’s jar.
- Quickly, fill one edge of the brush with Cobalt and Ultramarine Blue and drop some colour on the flower’s area. Keep on applying colour until you see the paper holds it. Allow drying completely.
- Use a tissue to lift the wet colour and water on the edges of the paper to avoid cauliflowers. Allow drying.

STEP 4:
The painting of Hortensia’s Flowers is complex and needs to be a little simplified. If the flowers of the bouquet would have all the same colour, a simple way to paint them could be, first, to add a varied wash with transparent colours covering all the flower’s surface, and then paint the shadows and darker areas with small glazes on each petal.
In this bouquet, we do have blue and pink colours and some already brown to add some interest to the flowers.
The procedure to follow is to paint with the method mentioned above first the pink flower, then dry ochre ones and finally the blue-violet ones.
- Paint with a medium Quinacrine Magenta the petals of the pink flower.
- Use Burnt Sienna for the browns. If you lost the drawing lines draw carefully with a pencil or draw them directly with your brush with some suggested petals. Important is that you try to paint each petal different to the next to get a nice variation on them.


STEP 5:
By painting the flowers, you will realize that it is difficult to paint the flowers as I did because the colours have been placed on the paper spontaneously. My suggestion is that you do the same, and then you paint the petals one by one, shaping them and letting each part of the flowers have some colours of the other ones.
- With the water, spray moist a little of the paper over the blue flowers, then fill the brush with Yellow Ochre and paint spots of colour here and there. Now clean the brush and fill it with a light Cerulean Blue and do the same covering some spaces between the yellows. Does not cover completely, leave some spaces without paint. Let it dry.
- While the paper on the right side of the bouquet gets dry, paint the blue flower on the right side With Cobalt Blue Cerulean Blue and Winsor Violet. It will be difficult to paint a flower, and it is also not necessary, we just want to suggest the flowers.
- Paint with Yellow Ochre and Cerulean blue the flowers on the right side of it so that you get a warm grey colour.
- Mix Permanent Sap Green with Transparent Yellow and paint the first glaze of the green leaves (part out of the water).

STEP 6:
- Mix Permanent Sap Green with Transparent Yellow and paint the first glaze of the green leaves (part out of the water).
- Paint with Cobalt Blue and Ultramarine Blue, the darker blue petals.

STEP 7:
- Paint now with the rest of the flower using all the blues and warm reds such as Cobalt Violet, and Perylene Violet. Use in the centre of the blue flowers a little of Transparent Yellow and use also Raw Sienna or Yellow Ochre to add some brown accents to it.

STEP 8:
- Add now the last glaze over the blue flowers of the centre and left side background but only if you feel it is necessary, with a darker value as the applied on the steps before but do not overpaint all of them.
- Wet the paper on the left side of the bouquet and add some stokes wet one wet of Cobalt Blue on the blue side of the flowers and Cobalt Violet on the rose flower and allow the colour to flow into the paper.

STEP 9:
- Add now the last glaze over the blue flowers of the centre and left side background but only if you feel it is necessary, with a darker value as the applied on the steps before but do not overpaint all of them.

STEP10:
- Paint the first wash on the green leaves with Transparent Yellow
- While the yellow gets dry, paint the water area with a pale wash of Cobalt Blue.
- With the 25 mm flat brush, paint a new wash on the foreground. Allow all to dry.

STEP11:
In this step, you paint the greens. Work up the values layer by layer Wet on Dry or wet on wet, taking care to let some veins, but you do not need to paint them all.
- Paint a second wash on the green leaves with a dark May Green from Cerulean Blue and Winsor Yellow.
- Continue painting the leaves with darker greens. Add Ultramarine Blue or Cobalt Blue on the darker areas.
- Paint the brown leave of the left side with Yellow Ochre and Raw Sienna. For the dark points, you may use Burnt Umber for the brown tones and Perylene Green or Permanent Sap Green + Indigo for the Greens.
- Paint the bottom of the jar with a little Yellow Ochre, while wet damp on it some Raw Sienna on the left side and a pale Cobalt Blue on the right side.

STEP 12:
In this last step, we remove the masking fluid and paint and add the last details like the light shadows and reflections to the painting.
- Remove the masking fluid carefully.
- Observe that the light is coming from the right side, so we want to have some shadows on the left side
- Fill a brush with Ultramarine Blue and a little Winsor Red and paint the shadows and colour reflections of the table.
- Add some spatter and finish.
