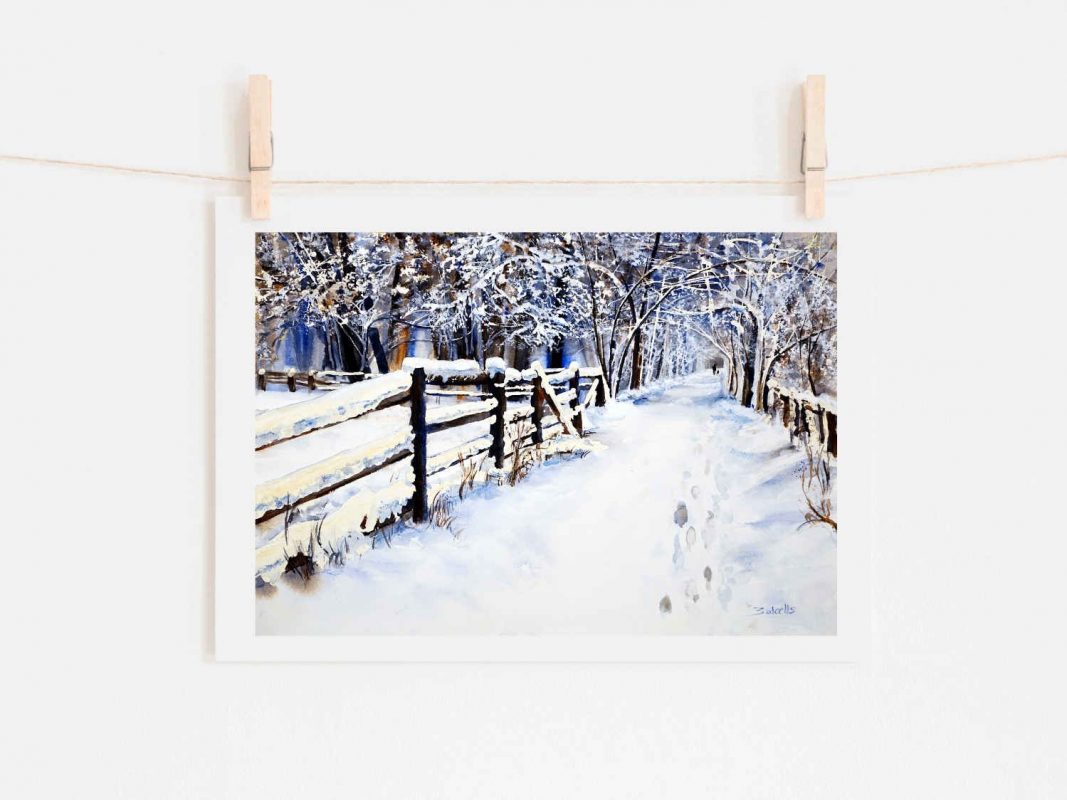
In this painting, the white spaces have been created using masking fluid and white opaque paint. Some additional branches and leaves have been painted with Chinese White or Permanent White in the last step. Permanent White is an opaque colour but does not remain white once dry; it tends to become a little grey.
I have used this to create a second white to give a slightly deeper colour to the snowy leaves and branches without working the background colours. Using an opaque colour here has increased the transparency of the background and the trees. The alternative to using Chinese White would involve masking fluid more on the leaves and branches, which would have created too many hard edges, challenging to remove due to the leaves being small.
Let's get started
MATERIALS:
Paper: 300 gram Arches or any other good quality Cold or Rough paper 35 × 51 cm (20 x 14 in).
Brushes:
- A 25 mm flat brush, a 6 or 8 good pointed round brush.
- A fine pointed synthetic # 6 to apply masking fluid.
Colours: Cerulean Blue, Cobalt Blue, Lemon Yellow, Quinacridone Magenta or Permanent Rose, Perylene Green, Viridian (optative) Burnt Sienna and Payne’s Grey.
Other materials:
- Masking fluid and an old sponge to apply it.
- Several small sponges of different sizes to paint the trees.
- Kitchen paper to lift out colours (if necessary) and a small spray bottle with clean water to erase or moist the paper (if required).
STEP 1: Copy and transfer your picture on the watercolour paper.

STEP 2: In Step 2, the fence and some trees are masked.

- Mask the snow over the fence and some tree trunks and branches with the synthetic brush. Do not forget to count up to 20; by 21 you must rinse your brush again in clean water!
- Use an old sponge with masking fluid to mask some tree foliage on both sides of the path. Just a few; more will be added later. You can also use a thin stick to apply the fluid if you wish. Let it dry completely.
STEP 3:
Here, you can see areas that have been protected better. The background trees are painted quickly in wet on wet, changing the colours and blending into each other on the paper.

- Turn the paper upside down and wet the background trees from the left to right side of the paper with clean water. Wait a minute or two.
- While the paper is still moist and shining, take your number 12 brush and start painting with pure Ultramarine Blue some tree trunks. Just some quick and straight brush strokes.
- Change the colours and paint some with Burnt Sienna and Raw Umber. Let the colours blend and try to get variations.
- As soon as the water shine has gone off the paper but is still moist, then paint some more trees on the forest edges, in the same way as before. Suggest some tree branches on both sides of the path. Let it dry completely.
- While the background is drying, paint the wooden fence with the same colours alternating them and letting them blend into each other. Let it dry completely.
STEP 4:
In Step 4, while it is drying, and before we remove the masking fluid, we paint the shadows on the path with lots of soft edges. This means we need a second container of clean water and a second brush to soften one or more side of the brush strokes.

- With a light grey made from Ultramarine Blue, Burnt Sienna and Raw Umber, paint the shadows on the path under the trees; soften the edges immediately with clean water or tissue paper.
- Also, paint the foreground path sides some snow shadows, taking care to keep some soft edges.
- Paint some footsteps in the snow, not in the middle of the path. That would divide the track into two equal parts!
- Add some darker values to the main trees and branches if necessary. Let all dry. Here again, paint your trees. They do not need to be as those in this painting.
STEP 5:
Remove the masking fluid. To remove the masking fluid, you can use a rubber, but I prefer to use painters’ tape. I roll it into a small ball and use it as I would use an ordinary rubber. Once it is full of masking fluid, I make a new one. The advantage is that I do not get marks on my paper. Some rubbers leave coloured marks or seal the surface of the paper.
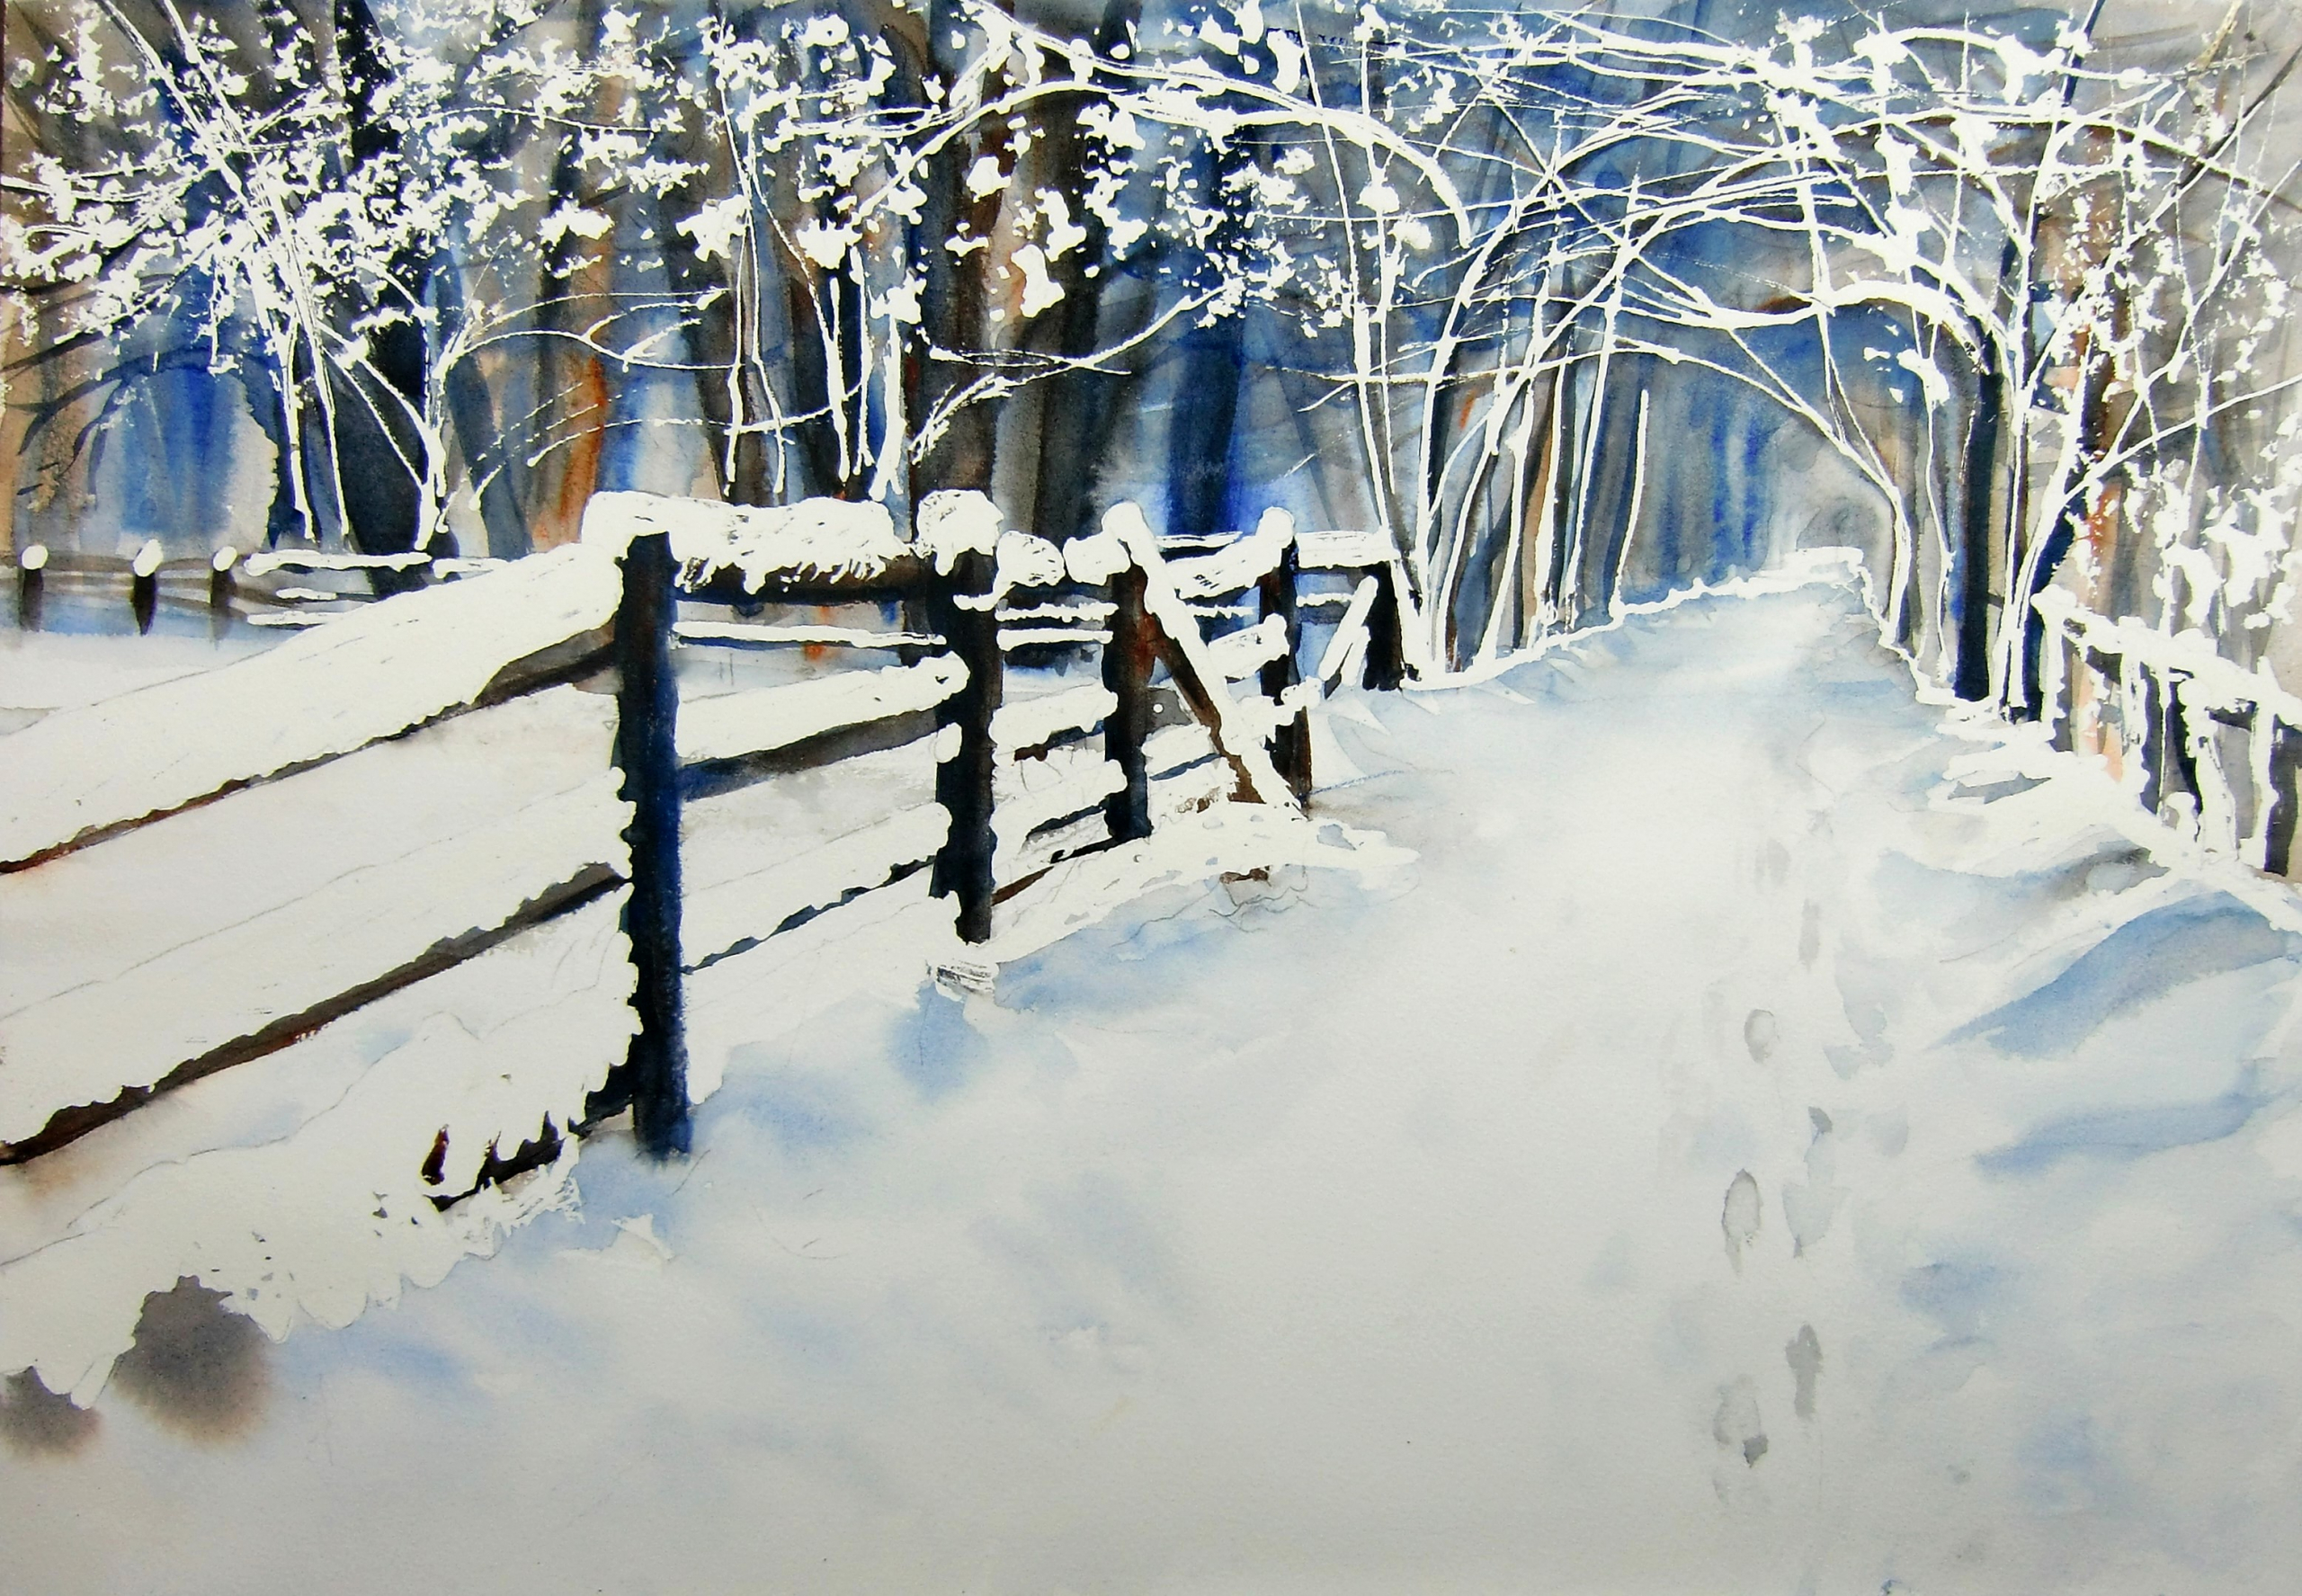
STEP 6:
In step 6, we soften the edges, add new leaves with Permanent White and complete the final details.
- Wet the snow on the fence and paint the snow edge shadows by adding a minimal amount of Ultramarine Blue.

- Take the same sponge that you used to apply the masking fluid on the foliage, wet in with water, and above the branches as if you are painting foliage.
- With a hard brush or a Q-tip, soften some hard edges, as many as possible. Let it dry.
- Now that it is completely dry, take a fine pointed brush and Permanent White paint the ends of the branches with some, not all! Now you have some branches with a kind of grey and other ones more white. This gives depth to the forest and branches and also lighten the edges of the trees. Let all completely dry.
- While the trees and foliage are drying, paint some grasses rising from the snow with small fine brushstrokes of Raw Sienna, Umber, and a Mixture of both.
- Now is the moment when you can paint over the trunks of some big trees with darker values. If necessary, correct some branches.
- Stand up, step back 3 meters from your painting, and have a look from a distance. Are any branches or trees looking improper?
- Make your corrections, if necessary, and let all dry.
Do the last check-up, and do not touch the Permanent White again. Too much Permanent White would make your painting too heavy and lose its watercolour transparency. If you need more light, you can get this by painting stronger shadows under the leaves and branches with a tiny brush and a dark brown. Finished!
